
Design
Ok this is a stage I really try to skip in almost every area of my life. I am a jump in feet first kinda girl. Planning isn’t really a strong quality of mine. Which is why I often find myself making something that wasn’t what I intended at all.
It’s more of an organic flowing process with me; a suck it and see approach; Make a head and see what sort of body he or she would like. Now that approach probably isn’t the best when dealing with something that actually needs to fit together smoothly so I did sit down and think about a few things first.
What size did I want the finished doll to be?
What material would I use?
How would I keep the centre hollow for threading the elastic through?
That was about as far as it went for planning questions. Also I have kinda changed my mind about the material. Now I am thinking polymer clay may be stronger than air-dry clay. Although there is also the choice of using something in the armature like a metal tube then strength wouldn’t matter as much. And polymer clay is much faster. I do get a little impatient. You can bake and move on with polymer clay. Whereas air-dry clay is a few days of waiting for thicker parts to dry before you can do the next stage, but conversely easier to sculpt. I am swaying back and forth a lot. Indeed, this is why I use both medium regularly for dolls, each has its own merits.
What size should the doll be?
Well as a rule Art Dolls are quite a bit bigger than my dolls. I tend to prefer a smaller doll, easier to store and takes up less shelf space. And Ball Jointed Dolls are no exception they are often larger too. I am a bit of a fool to myself with this one though as the bigger a doll the easier it is to sculpt, but hey ho.
So, going for my usual size head of about 1.5 inches (4 cm) and the fact that head to body ratio is usually 7.5 heads in a body, then my dolls should be 11.25 inches (30 cm).
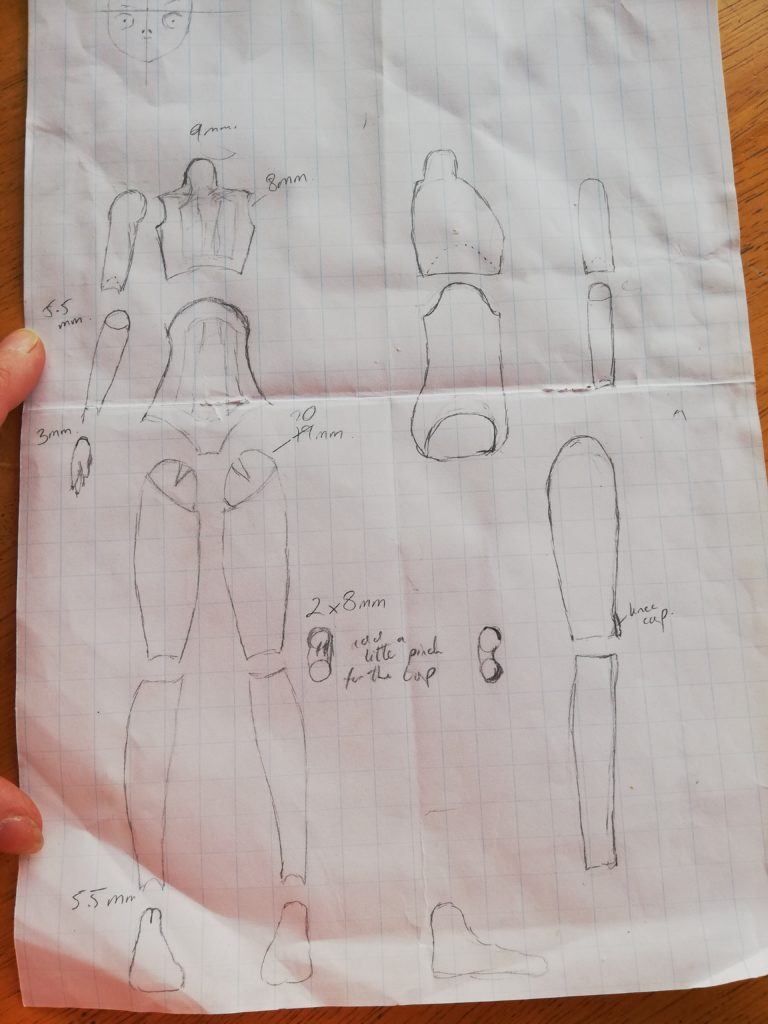
I often make heads that are actually too large for the body, but that is a look I like, especially with my cloth dolls. So when I start with a 1.5 inch head my dolls usually end up about 10 inches or 25/26 cm. Not the 11.25 inches it should be. But I really didn’t think about any of that at the time and just drew out some basic shapes on a piece of 1cm squared paper. I wanted something fairly small. Primarily so I didn’t use too much clay with this first draft doll. Not too wise though as it meant I am now struggling with getting the arms thin enough with a removable armature to give a hollow tube. But I do have a template which is a good start. And there is always thought of drilling a hole through afterwards?? umm!
Materials?
Well for now air-dry clay but if I get bored I may make another in polymer clay while waiting for bits to dry.
Keeping the centre hollow.
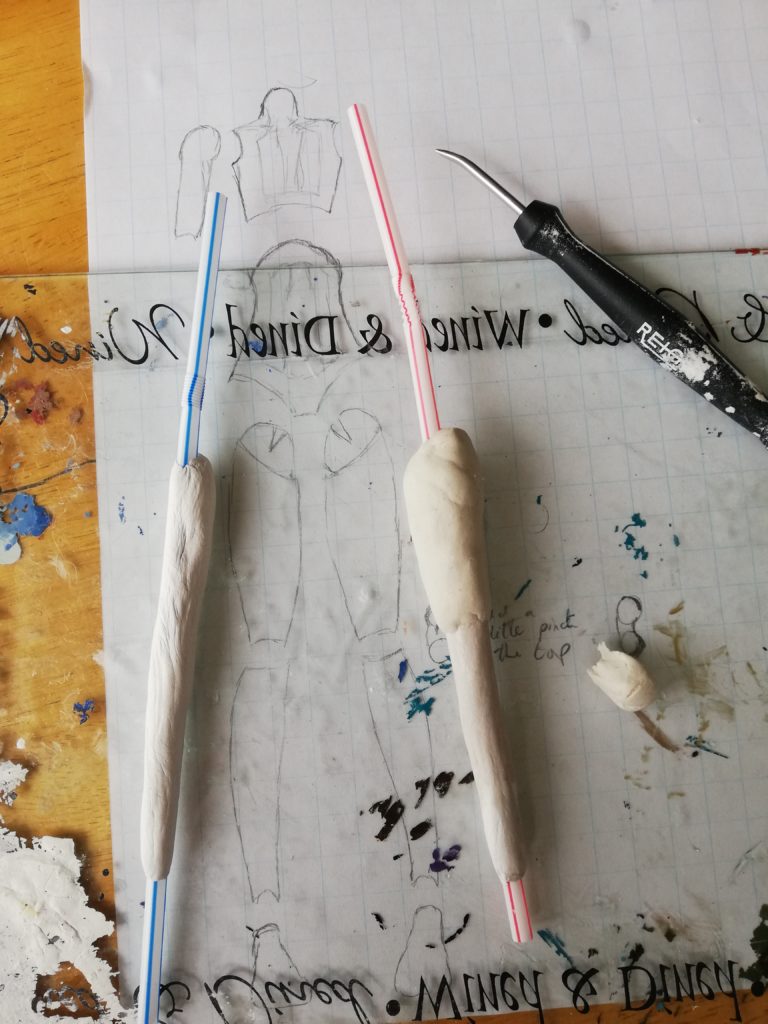
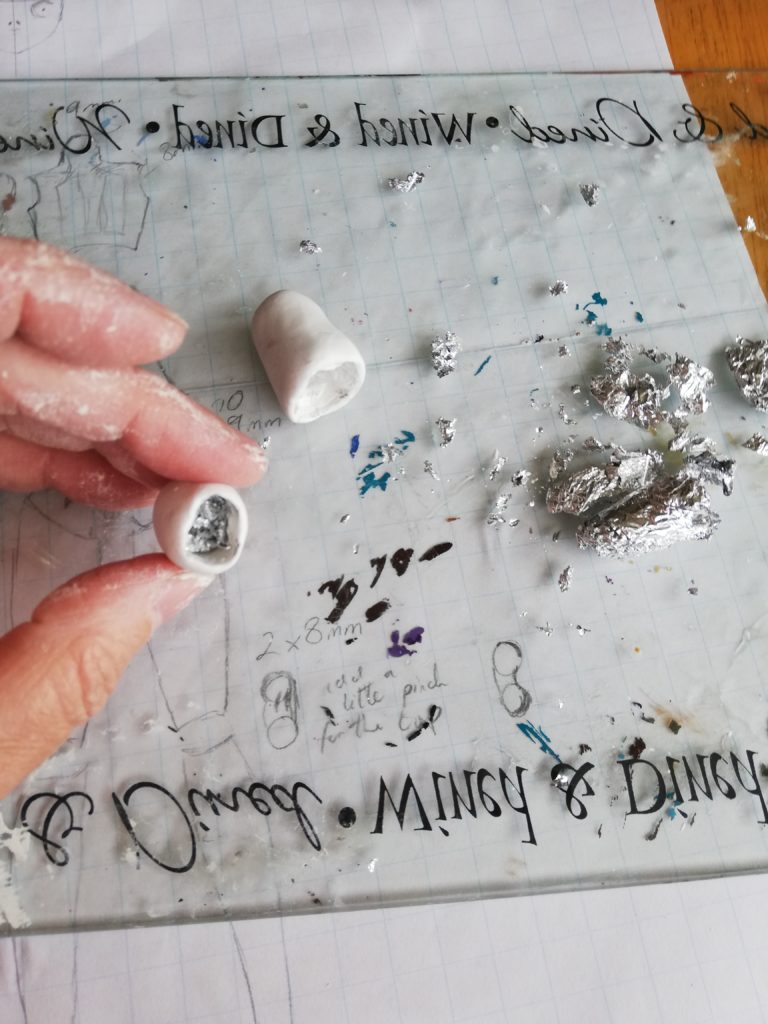
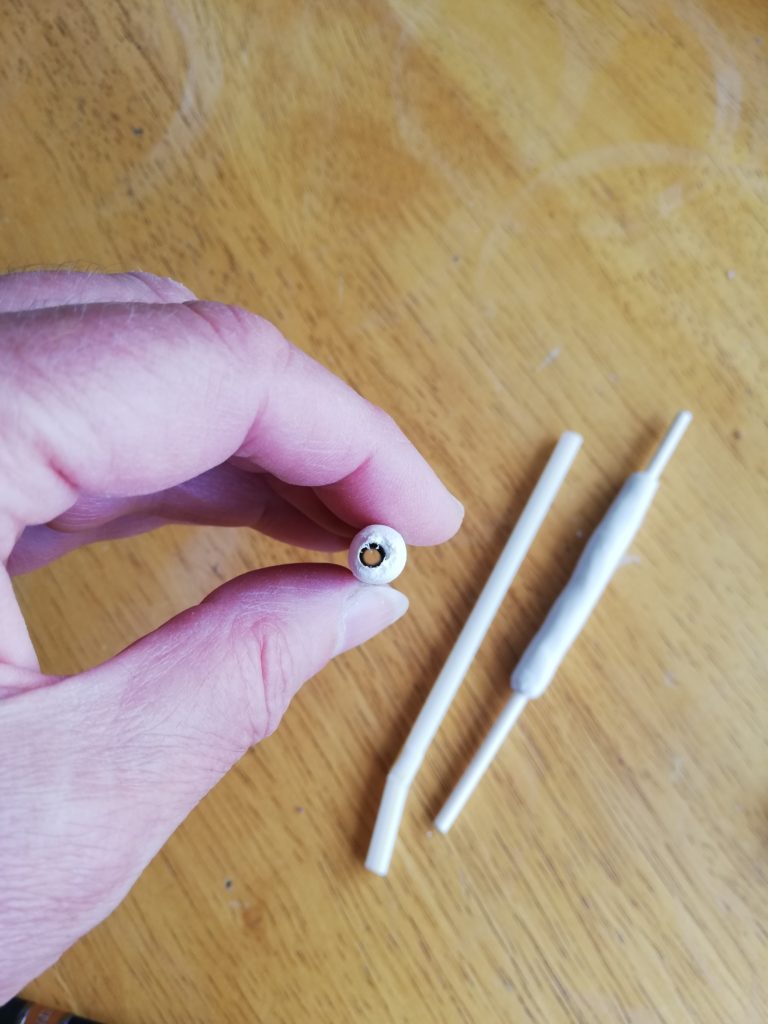
Drinking straws have made the centre of the leg. But these were way too thick for her arms so I found some small paper pop sticks that covered in clingfilm can slide out after shaping the arm. And for her centre I made an armature of polymer clay as it seemed as easy as anything else. Just two pieces of clay rolled thinnish and then each shaped into a tube around some silver foil and baked.
So far, I have arms drying, legs underway and the start of 2 body pieces, things are moving in the right direction. I will keep you up to date with progress next week, and we can discuss more about joints.
If you want to read the first blog post of this journey it is here
‘Till then Ally x
One thought on “Designing a Ball Jointed Doll”