So it was Makers Medley Challenge time and I decided to do something a little different. The theme was old object. I decided to make a little wooden man. Wood being quite an old object I thought.
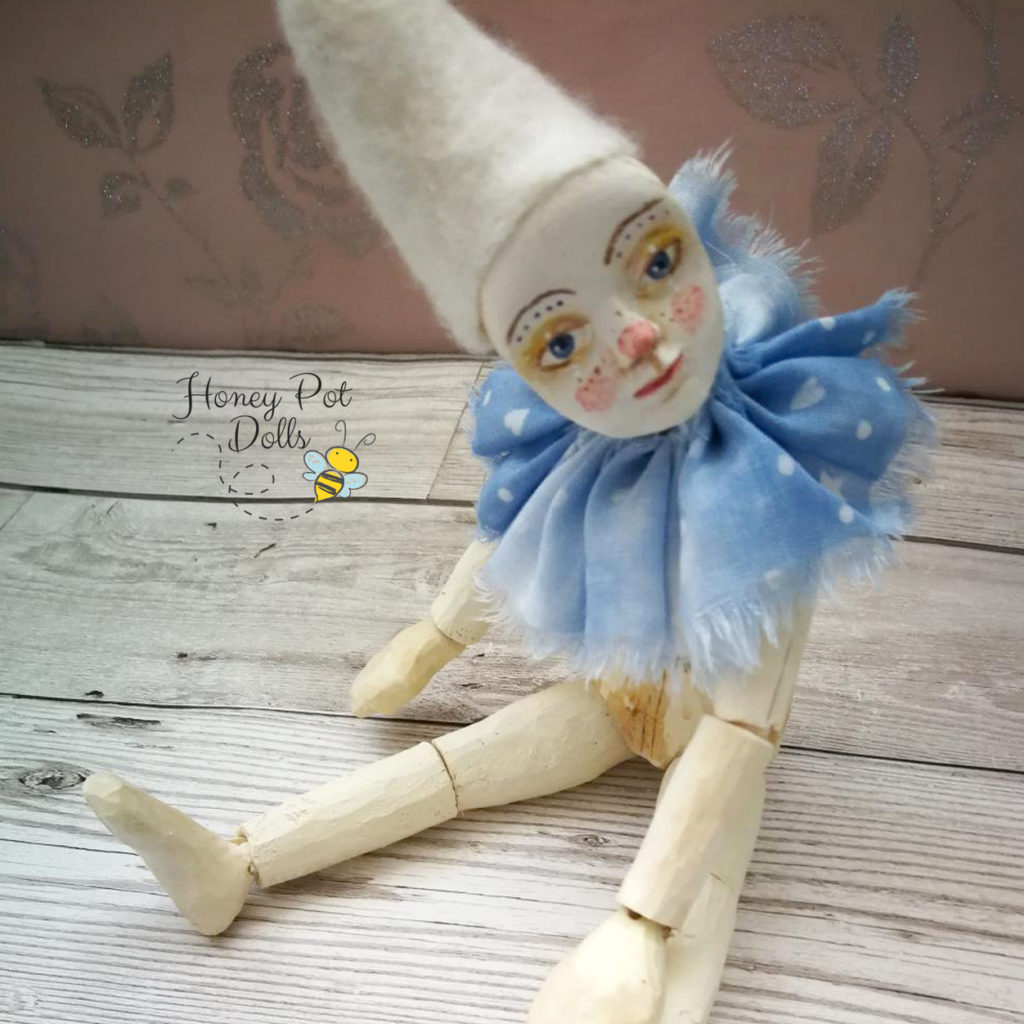
I had been wanting to try my hand at a Ball Jointed Doll (BJD) for a while, well ever since seeing them on Pinterest for the first time but was rather nervous of clay, as it is easy to break and porcelain needs a kiln and various other things I don’t have. And then I had saw a tutorial on Etsy for a wooden BJD and I just had to give it a go. The tutorial is sold by https://www.etsy.com/uk/shop/DonnaMenkeCreates
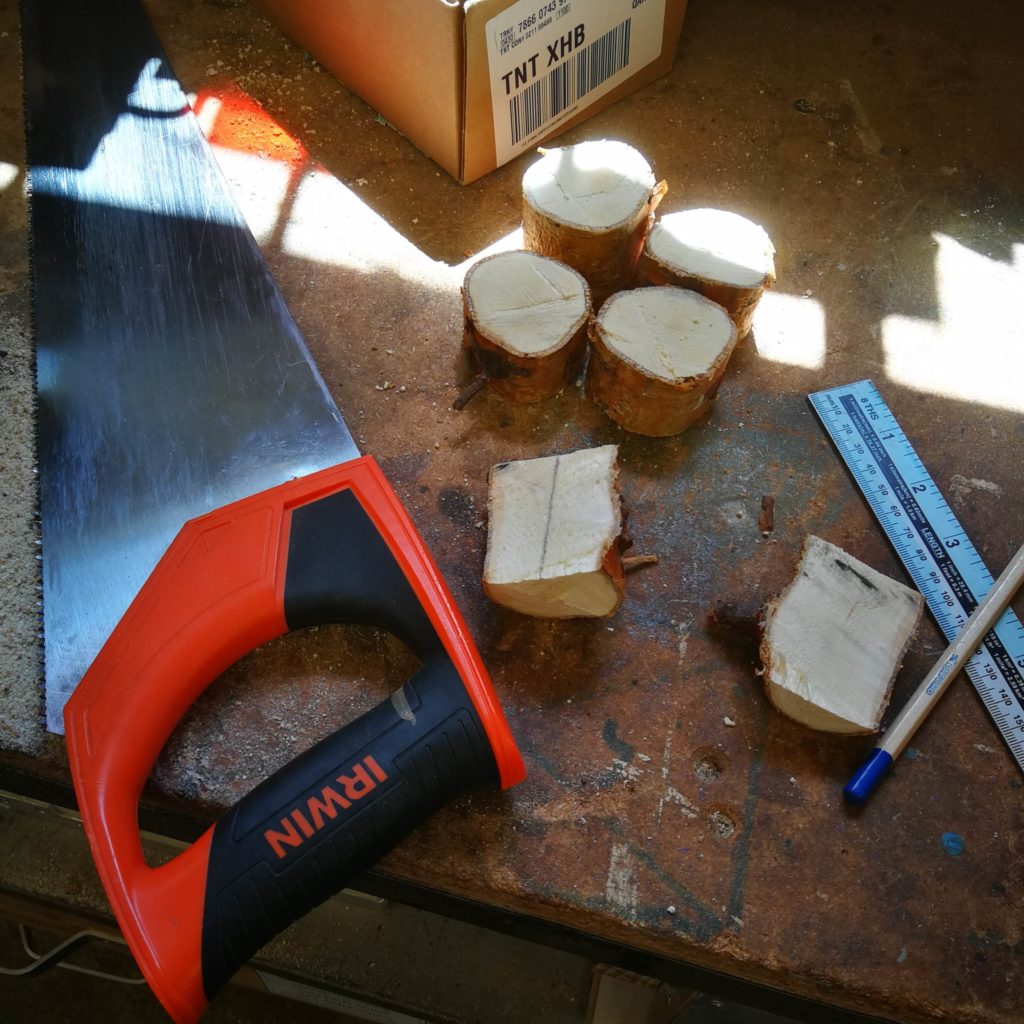
I bought a knife from Amazon and got a bit of a branch from a tree we had just pruned in the garden and set to work. My first task was to cut it into blocks for the various parts of his body. They were supposed to be square, but since I was starting from a branch not a block, mine weren’t all that square in truth but I carried on regardless. Actually, it is more that I can’t saw straight to be honest, but I quite like the way bits of him are darker as they were closer to the bark.
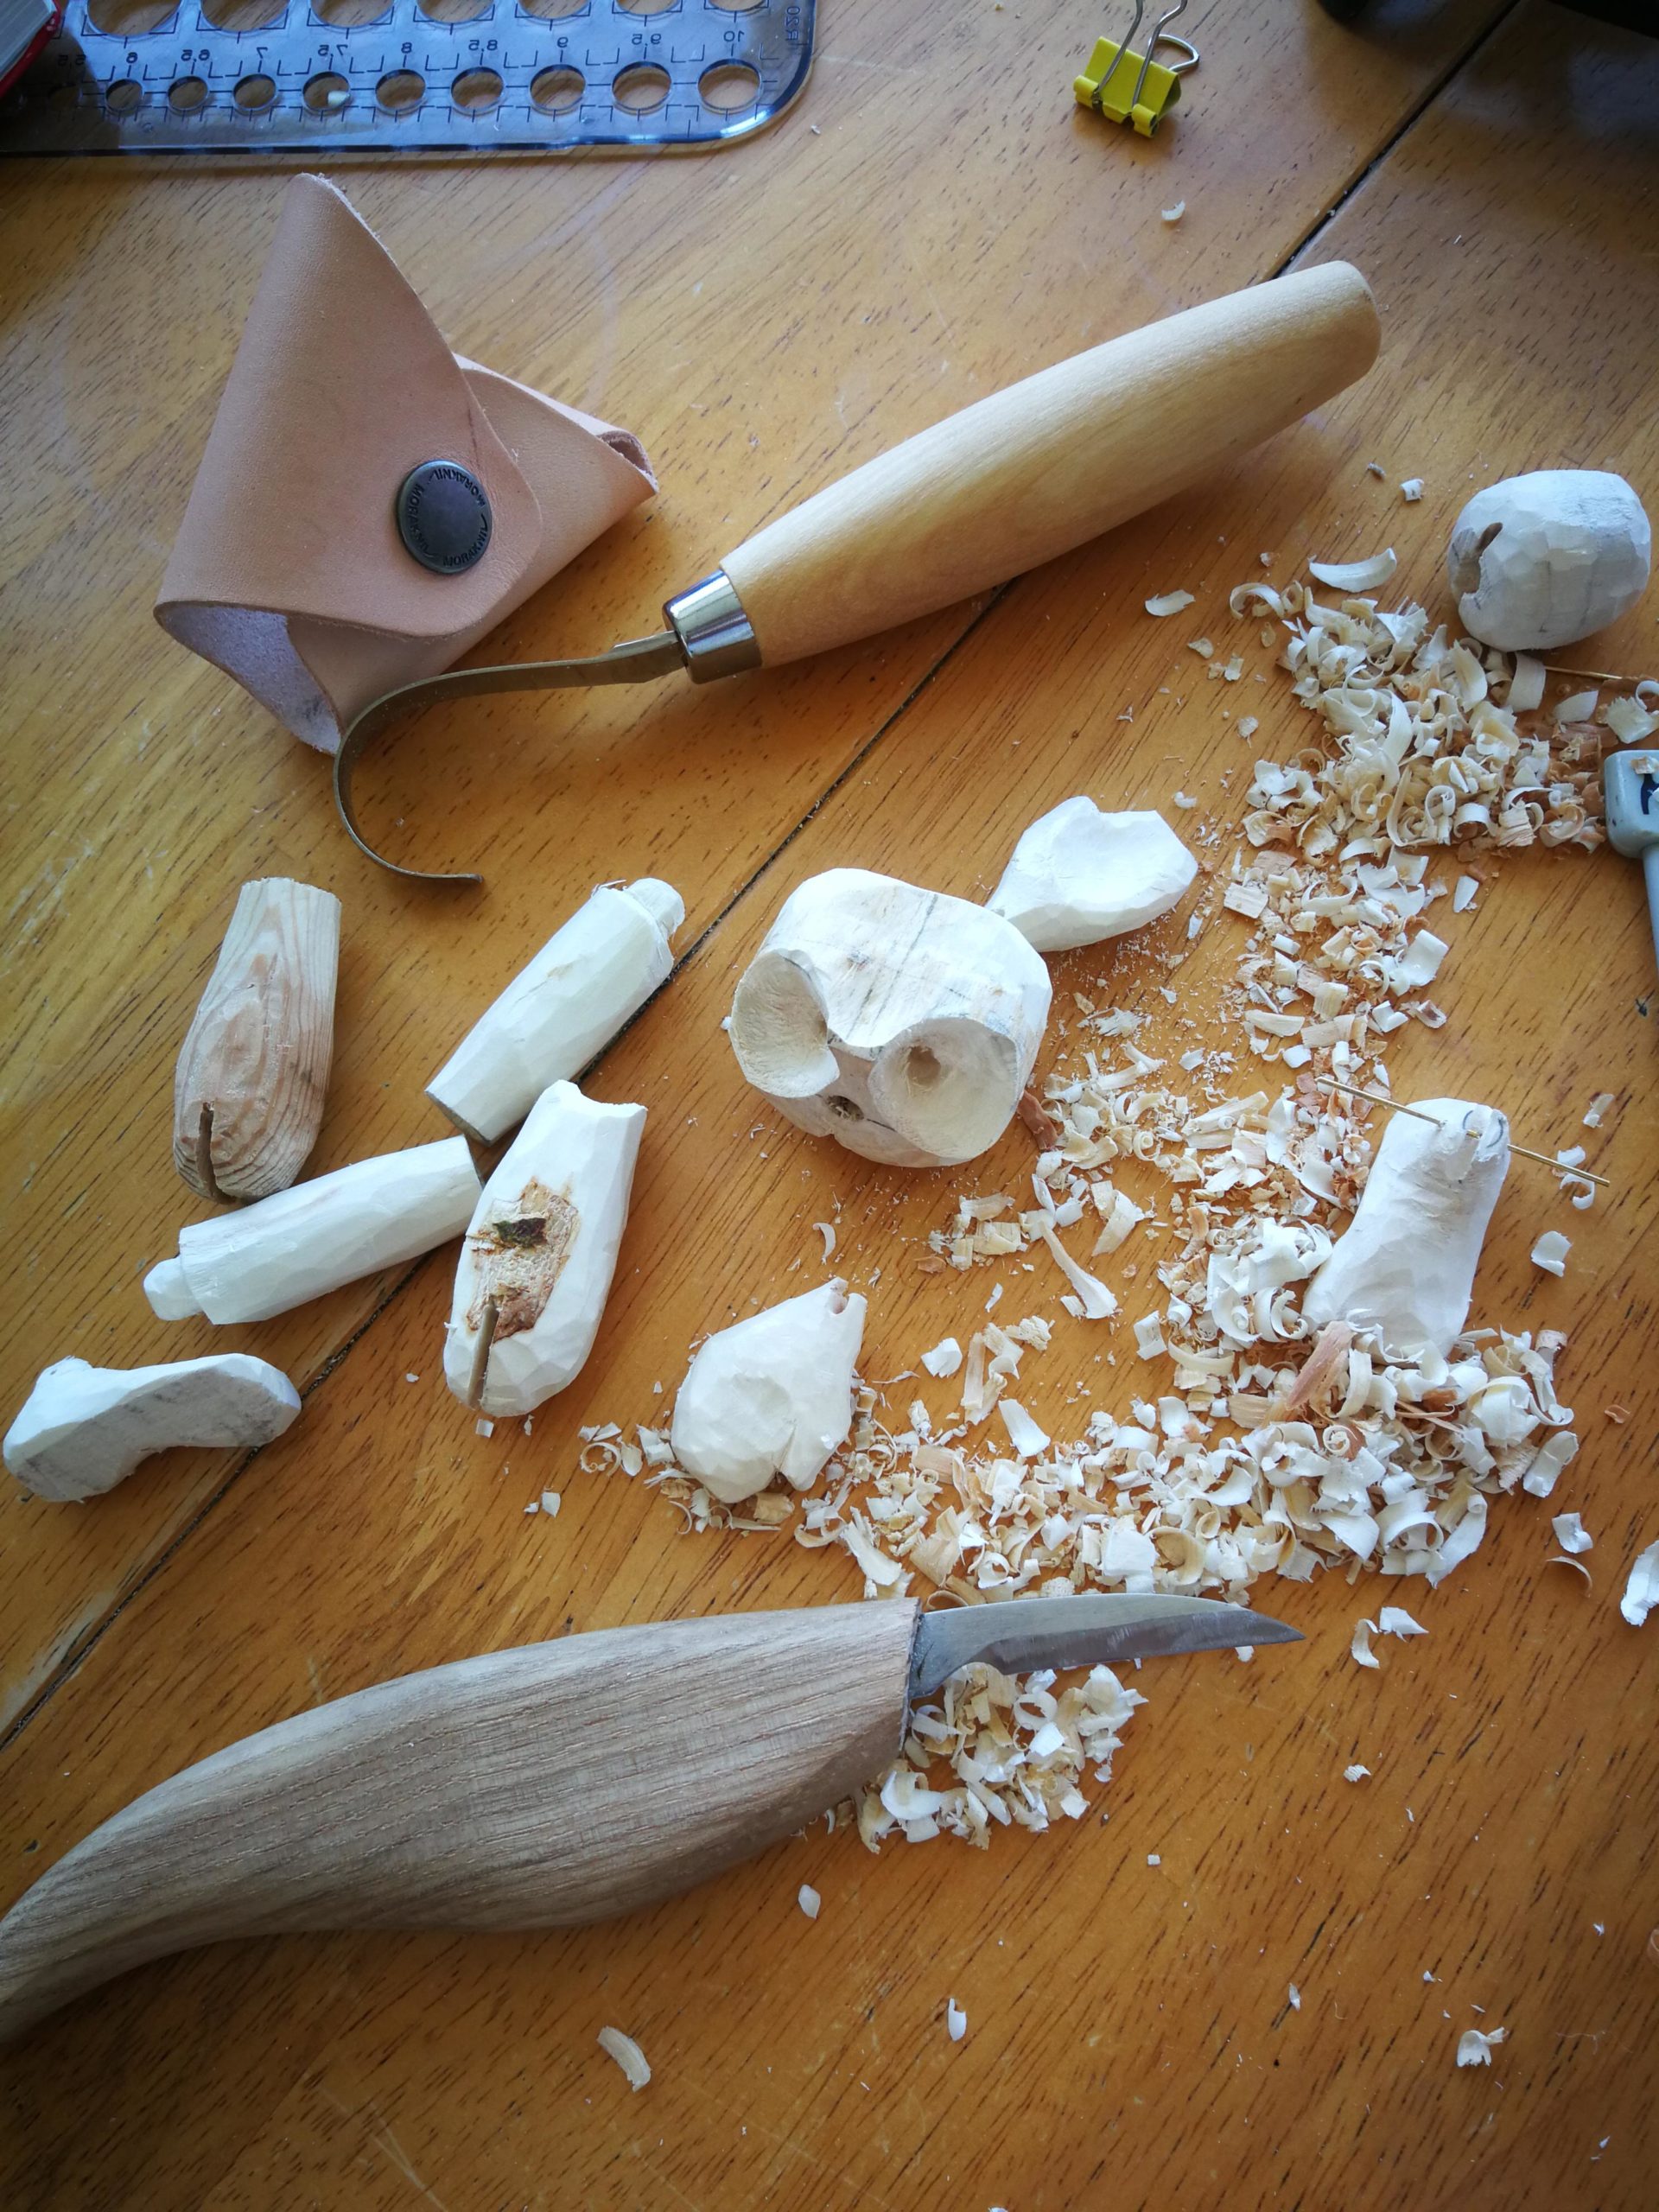
Then came lots of hours whittling away at the blocks of wood. Thankfully the weather was fairly good, and most could be done outside, although I did discover an awful lot of wood chippings in the turn ups on my jeans which came into the house with me sometimes.
I discovered I wouldn’t be able to carve out his middle to fit his abdominal ball without a different knife so back to Amazon and I bought a curved knife that is so sharp it’s scary, only planted it in my palm once though so that wasn’t so bad. I did think about a cutting glove, but I decided to just try to be more careful instead.
Once the blocks were carved enough I got the elastic out and started the process of testing joints and refining them. And as time was running out for the big reveal day he ended up being as he was.
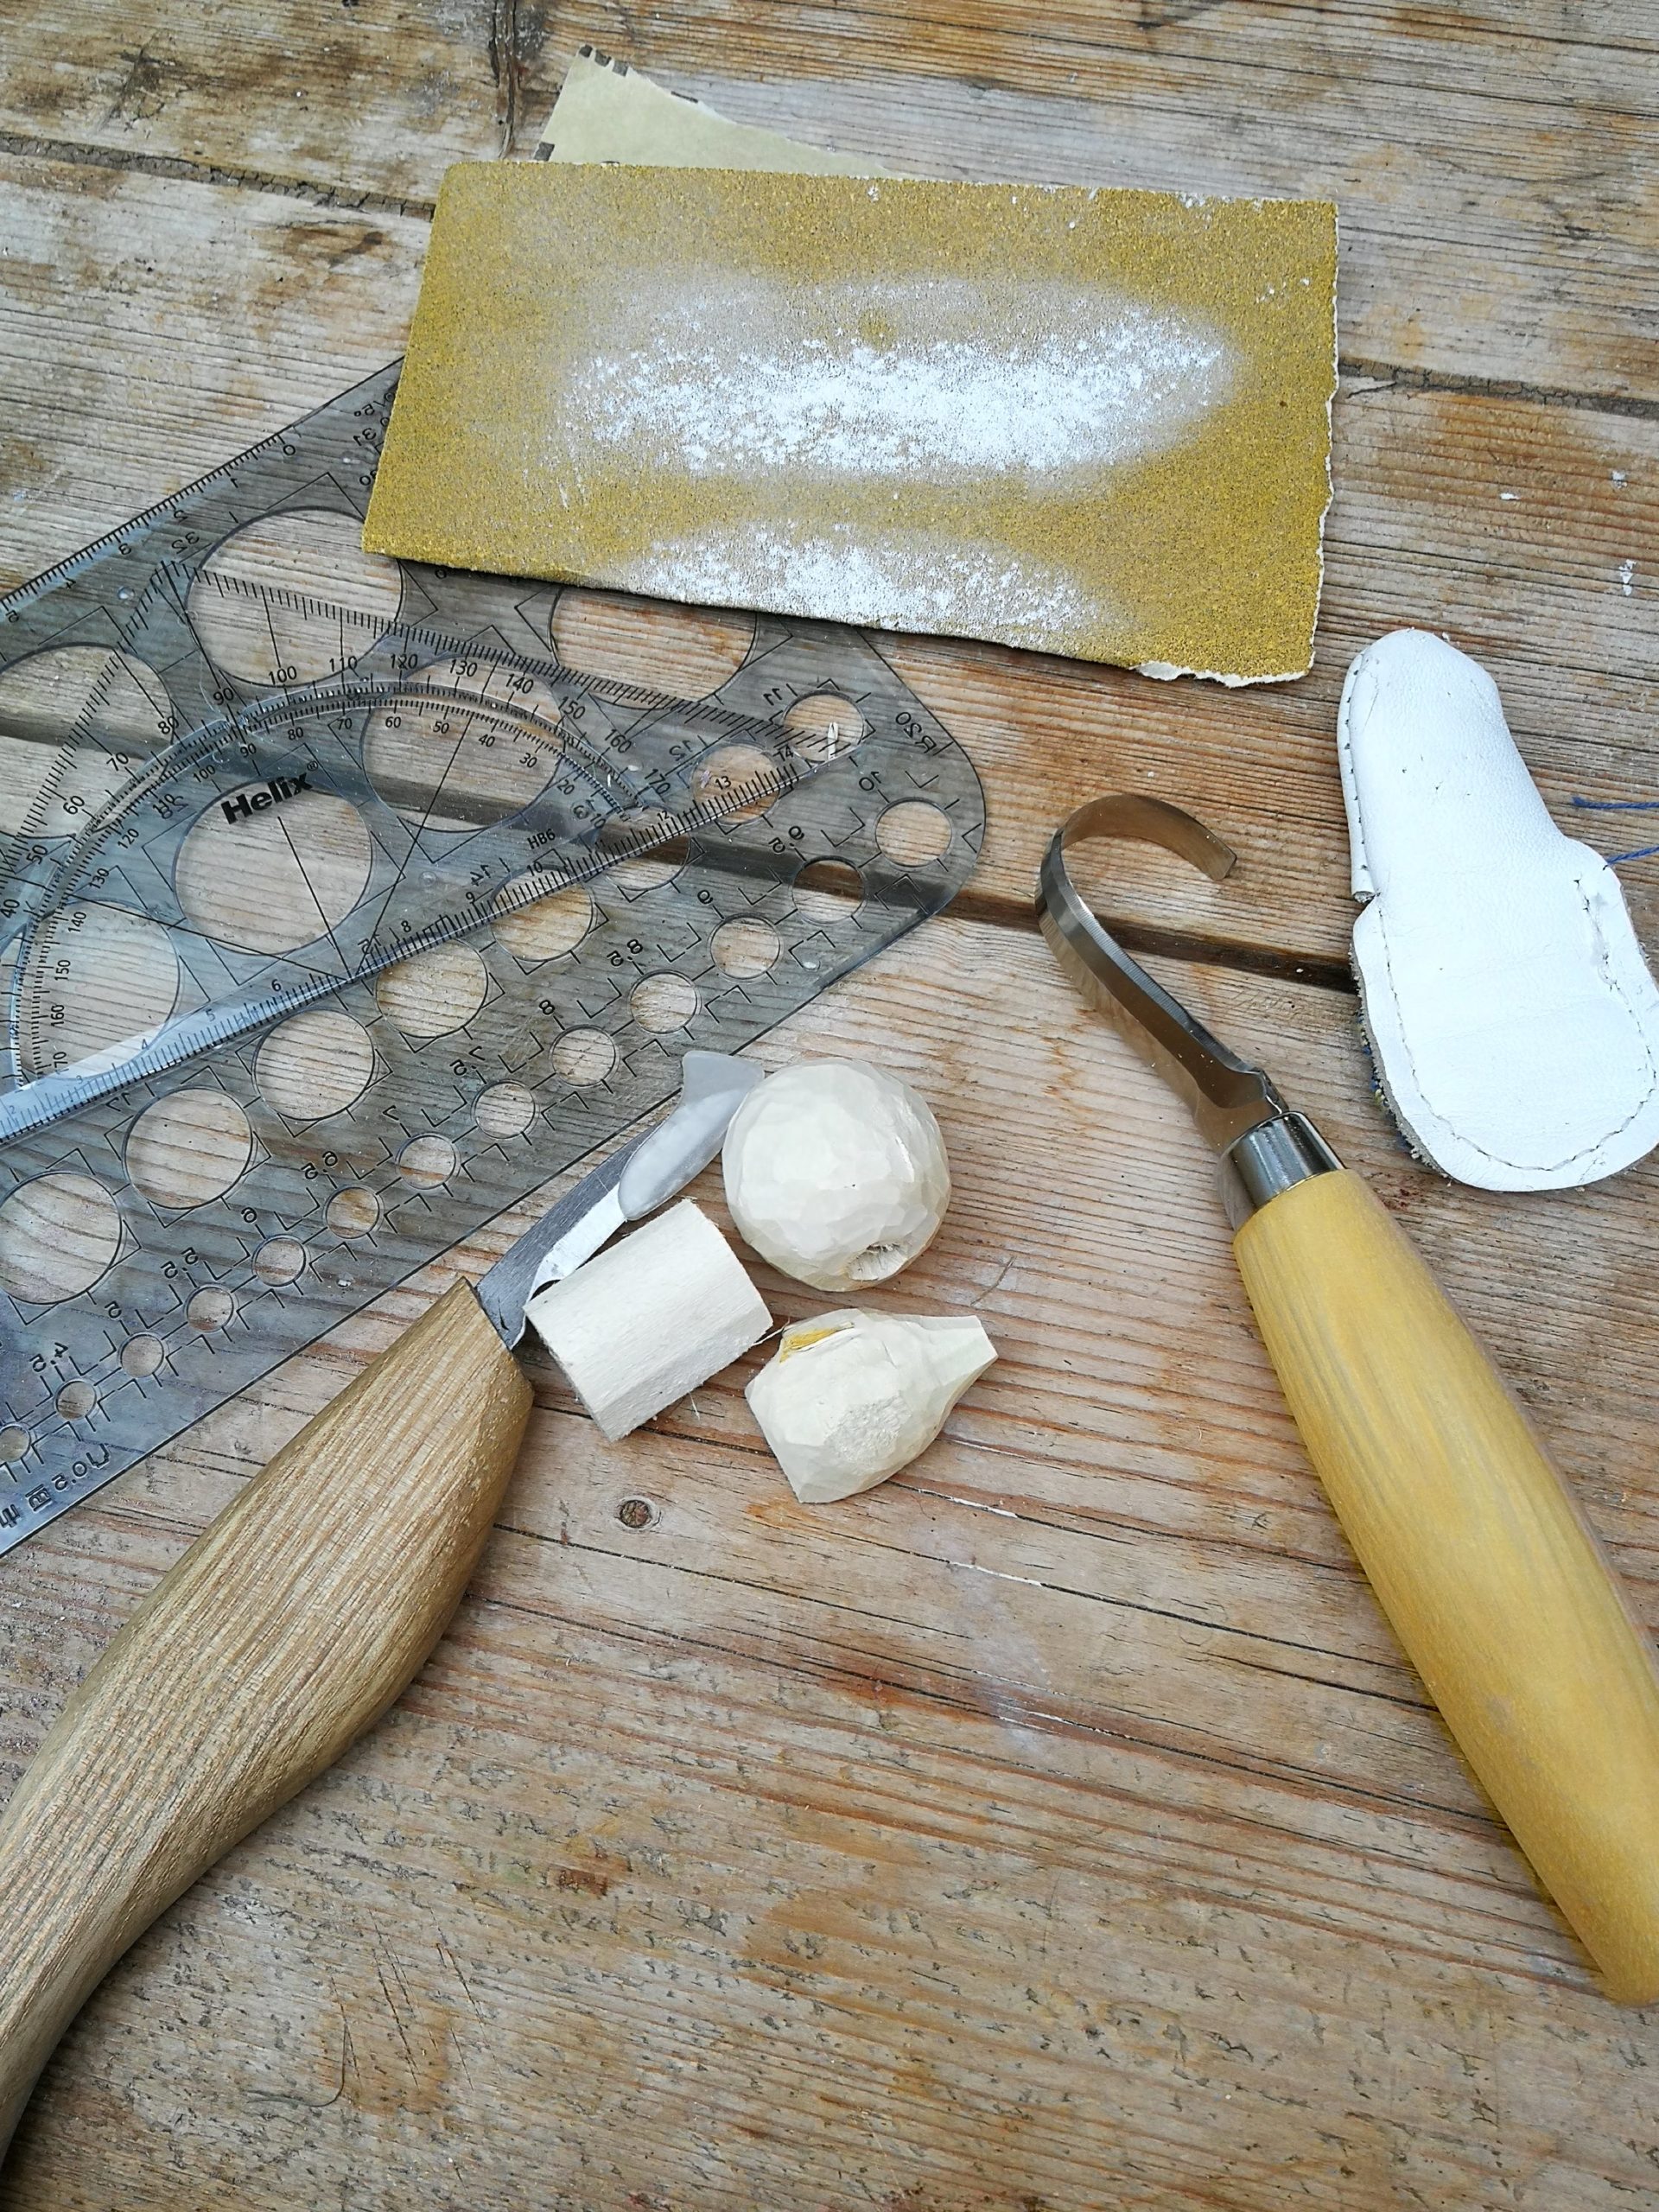
I decided I liked the un-finished look with this little chap as I think it suits his personality, but I will try sanding the next one smooth and see what effect that gives. As it was, I sanded all his joints to aid smooth movement. I need to work on his knees and elbows better as they don’t hold a bend properly yet, but for a first attempt I am really chuffed.
I especially like his big feet; they are so solid and supportive.

Obviously carving a face would have been quite beyond my beginner skills and is probably not something I am interested in learning anyway as an air-dried clay face suits him very well and enables me to still keep a look of my style about him. I love the look of these water-coloured painted little faces.
My end goal will be a doll the same size as my standard Bees Knees cloth art dolls, dresses in the same style but with the ability to stand and pose. Hair will have to be thought about though. Will they look right with curly wool hair? What do you think?
Lessons learned.
Logs have pith running through the middle of them that effects the drying time and can cause cracks. Most carvers will remove it or use wider branches so they can just use one half, away from the pith. My first head cracked as I hadn’t removed the pith all the way through.
A template with lots of different size circles is really useful for getting limbs the same size.
Things don’t need to be perfect to still be charming.
Whittling is addictive.